

Last week I posted a series of photos on how to do a square start on a 16 strand diamond plait or over 1, under 1 plait, or a 16 strand round braid, or what ever you want to call it. This post is about starting the same way but with an over 2, under 2 or short herringbone plait. I think it could also be called a multi-strand, long pineapple knot.
Mark the middles (I used tape, but use what ever method you like) and lay out the strands parallel to each other. Stagger the middles a bit to one side or the other. I put a flat tile over one end to keep it from sliding around as I worked with the strands.
Take the topmost strand and place it over the strand below it and then under 2, over 2 and under 2.
Take the second strand from the top and place it under the next lowest strand, then over 2, under 2, and then over 1. Notice that the mid-strand marks are staying at the bend in each strand.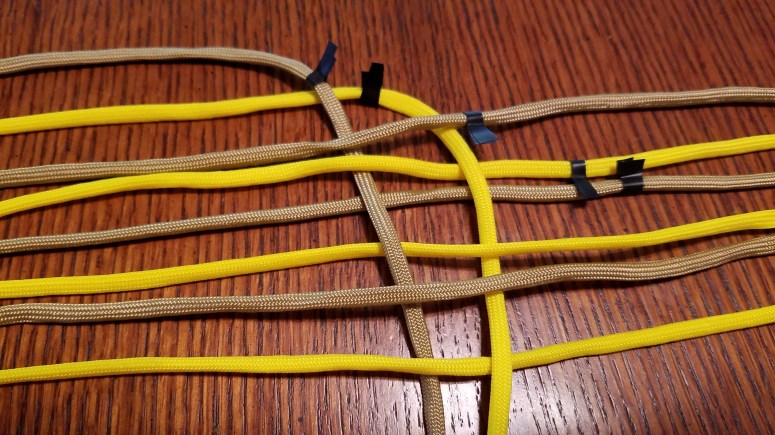
Then next strand down goes over 1, under 2, and then over 2.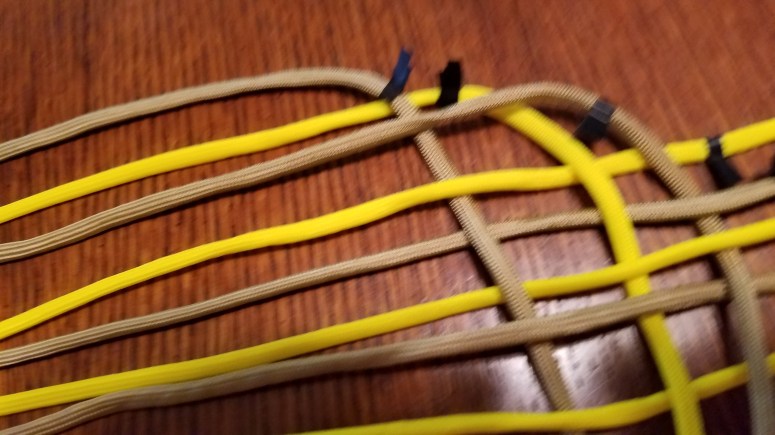
The next one starts with an under 1, then over 2, and ending with an under 1.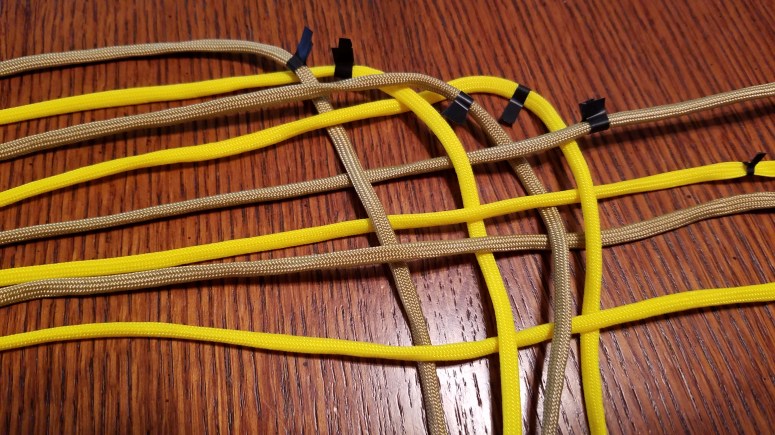
The next strand goes over 1, under 2.
This one goes under 1, over 1
Finally, place the next to last strand over the last one.
Then, take the last strand on the right side and arc it over the top, place it underneath the topmost strand on the left side and then go over 2, under 2, over 2, and under 1.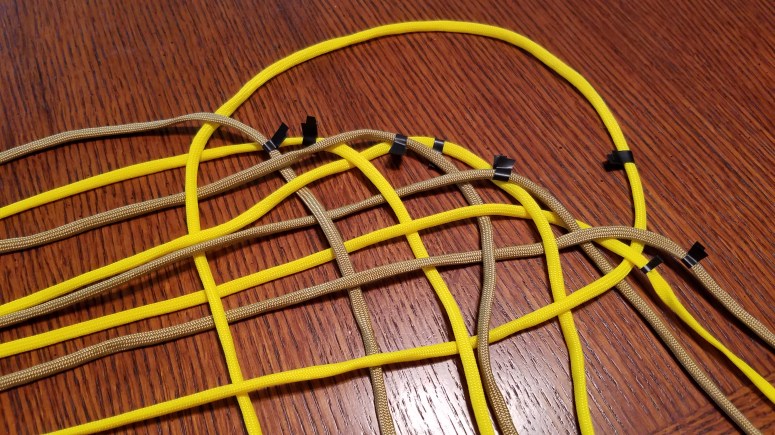
Arc the topmost strand on the left side over the top of all the other strands and weave it into the right-hand side starting with an over 1, then under 2, over 2, under 2, and then over 1.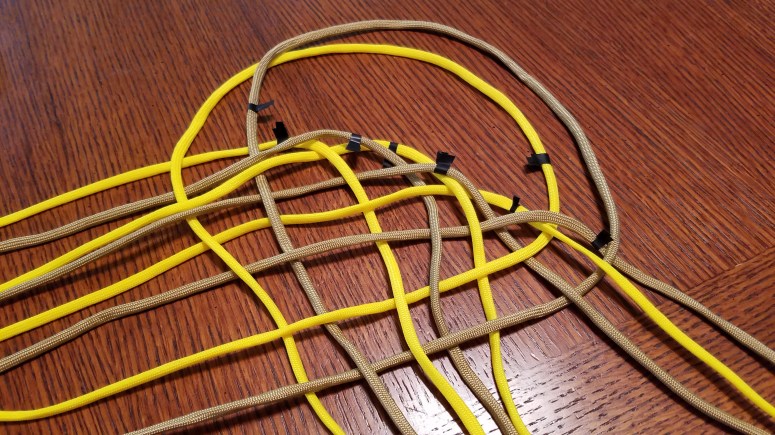
That was the easy part.
Now insert the whip (or what ever you want to start this wrap around) and draw the strands that you looped over the top (now looped around the back of the piece) by pulling on the bottom strands of each side until they start to tighten around the whip (or whatever.) Pull off the tape on the center marks before it gets too tight.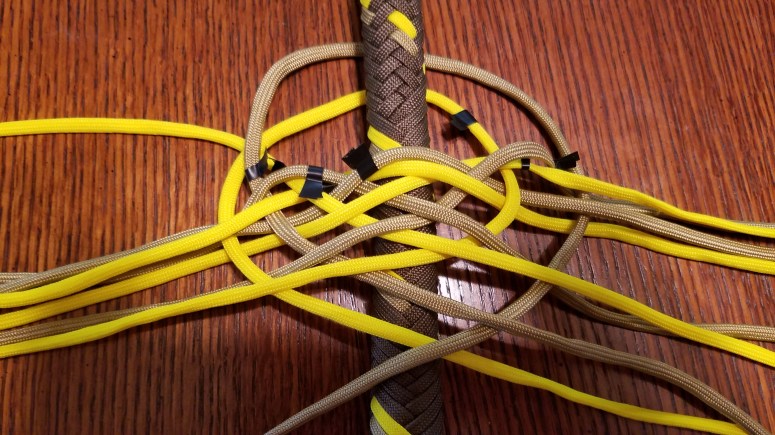
Here’s what it should look like when you finish tightening.
And here’s what the back side should look like.
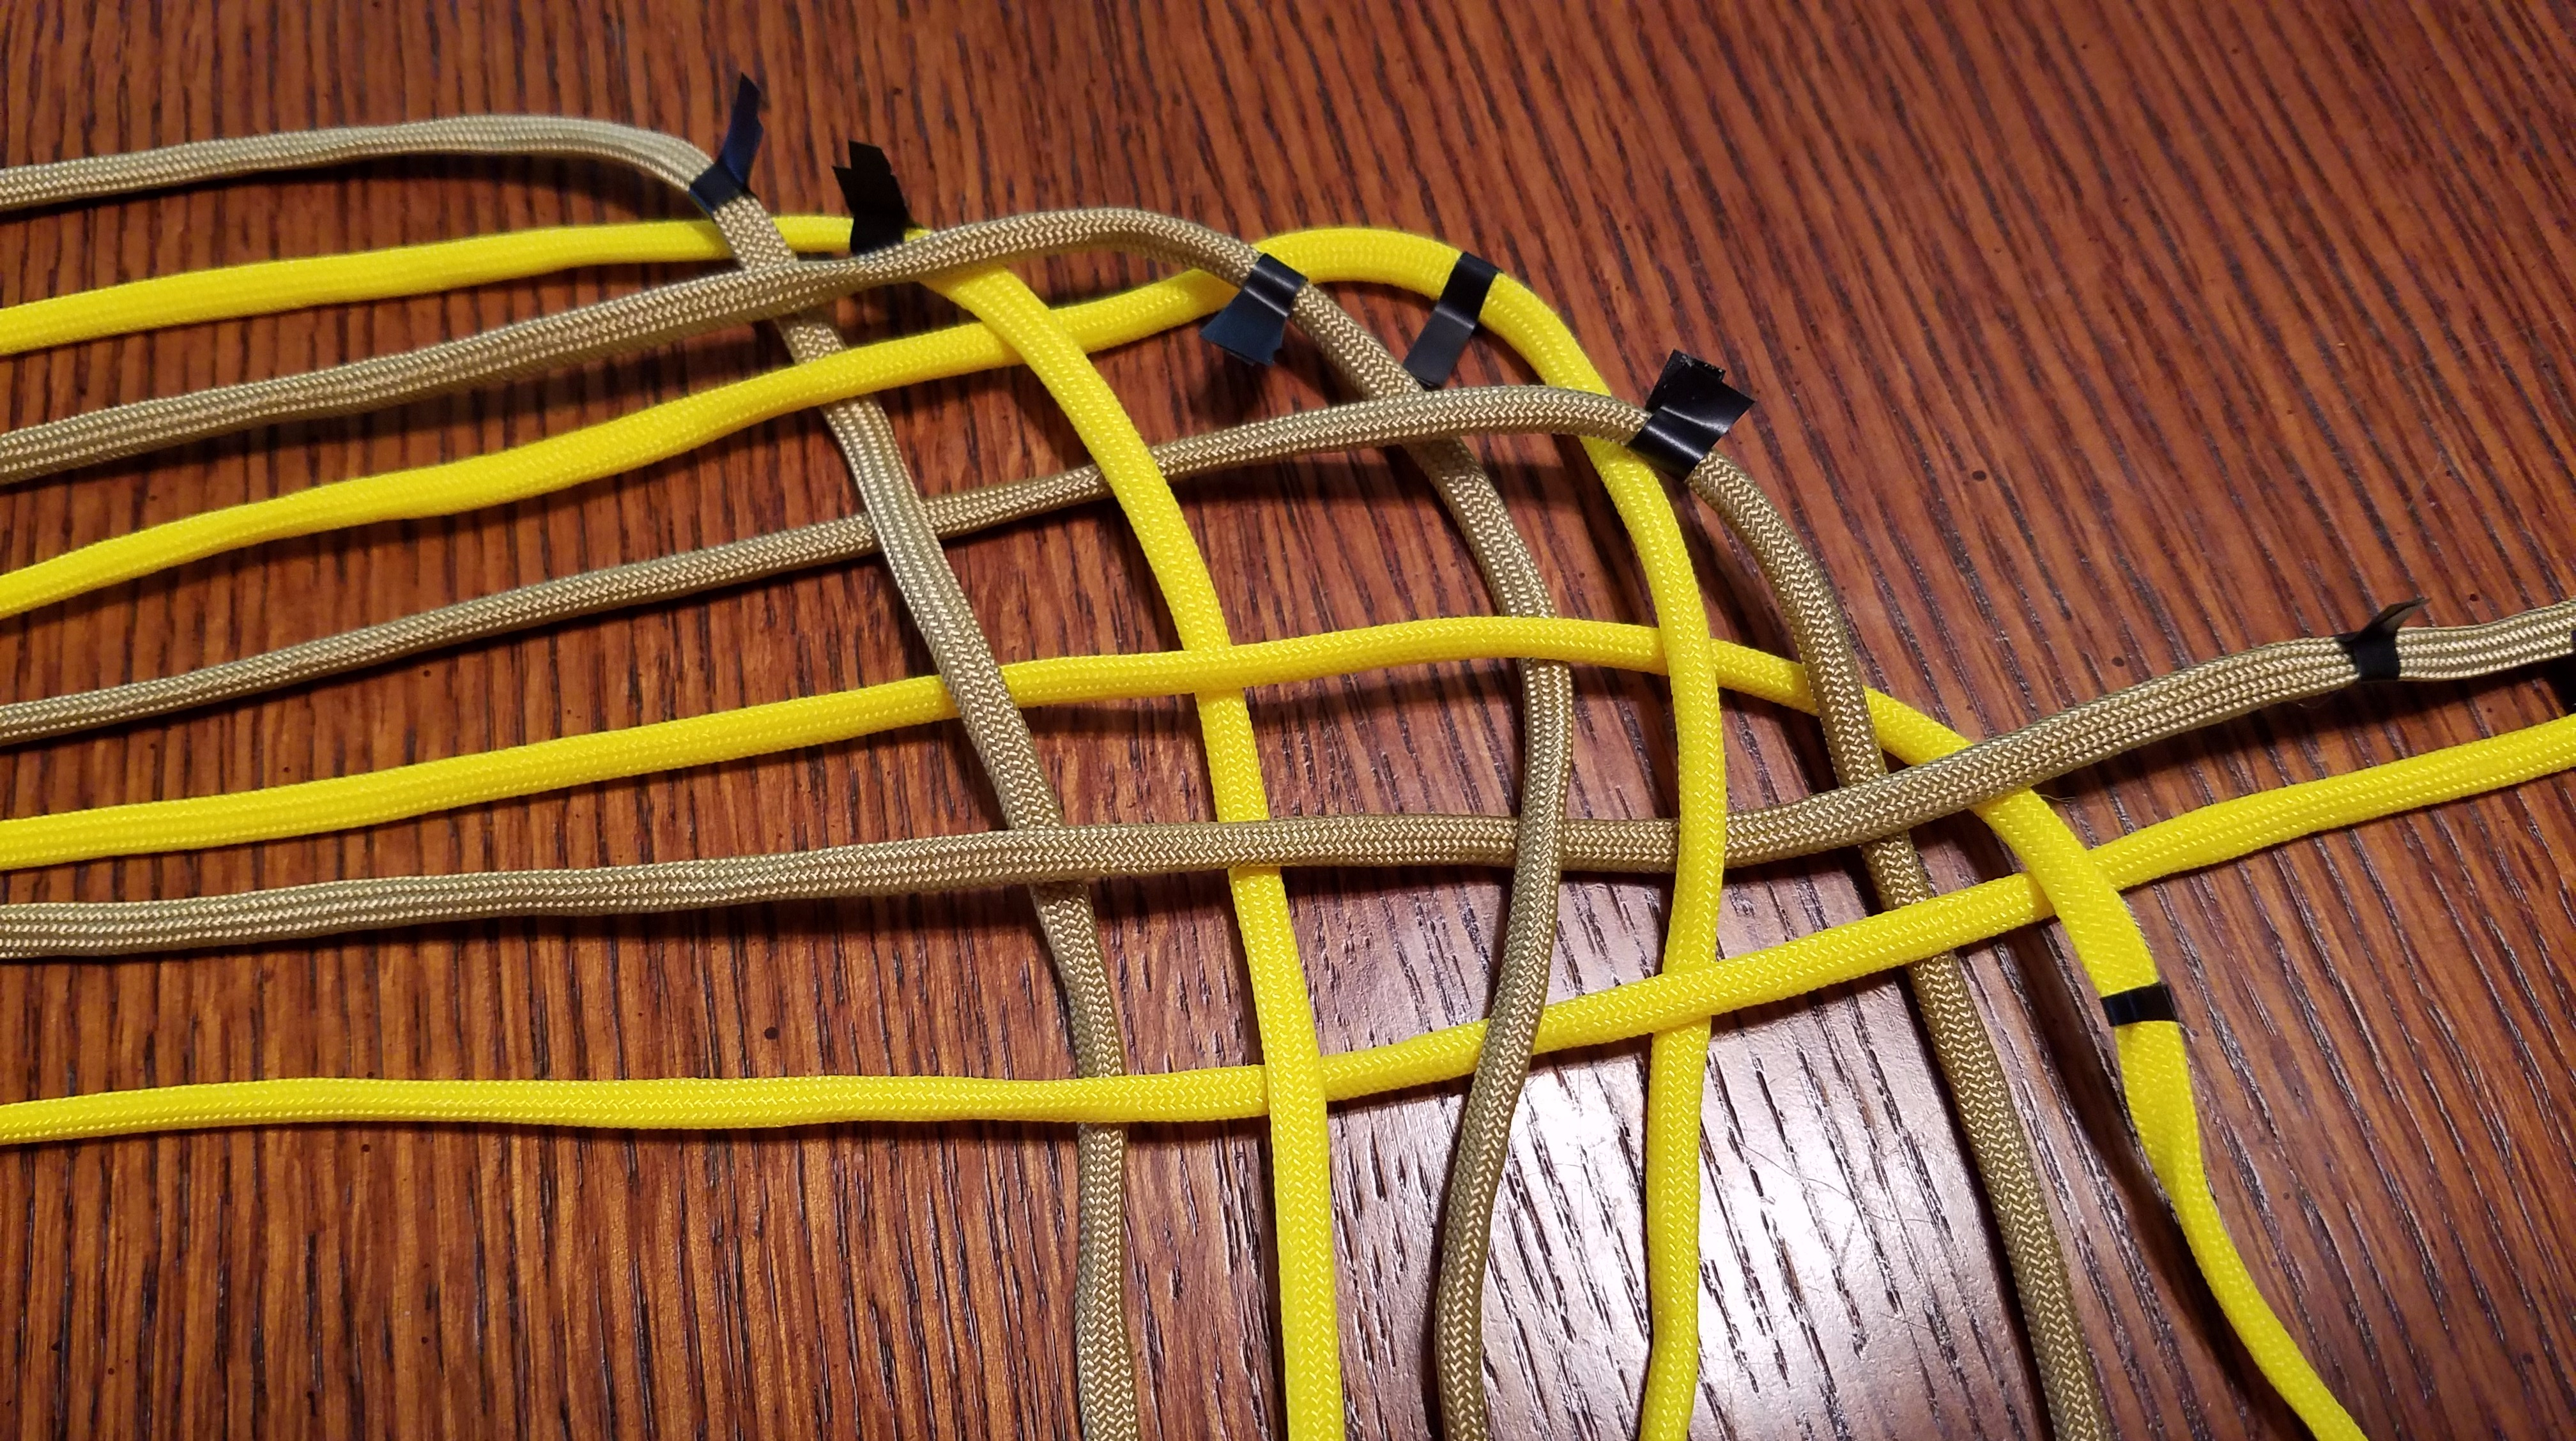
Now, take the top strand on the right around the back of the piece and go UNDER the top strand on the left, then over 2, under 2, over 2, and under 1.
Again on the RIGHT side, take the top strand around the back of the piece and go under 2 over 2, under 2, and over 2.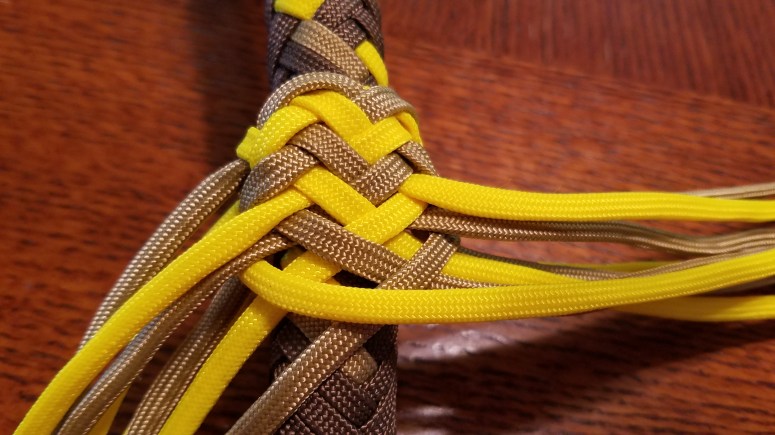
Now take the left side upper strand around the back of the piece and weave it under 2, over, 2 under 2, and over 2. Now you can continue the normal short herringbone pattern, alternating taking strands from the upper right and the upper left, threading them behind the piece and through the opposite side strands in an under 2, over, 2, under 2, over 2 pattern. Keep everything snug as you go, but be careful to hold the strand you are pulling tight secure on the opposite side so that you don’t pull it through the weave.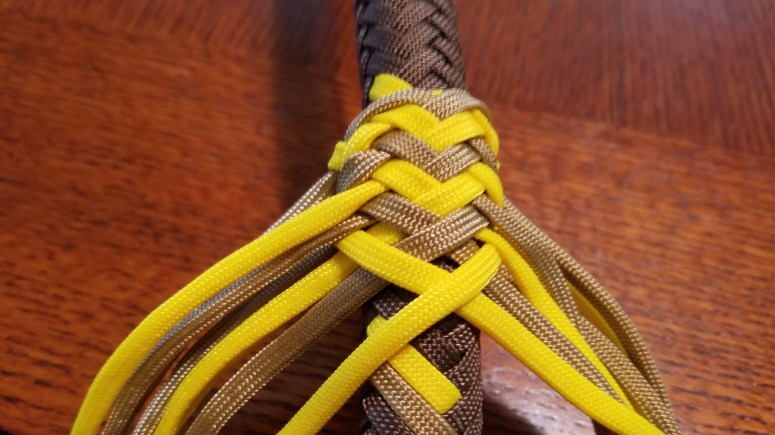
The finished piece is in the next post.
