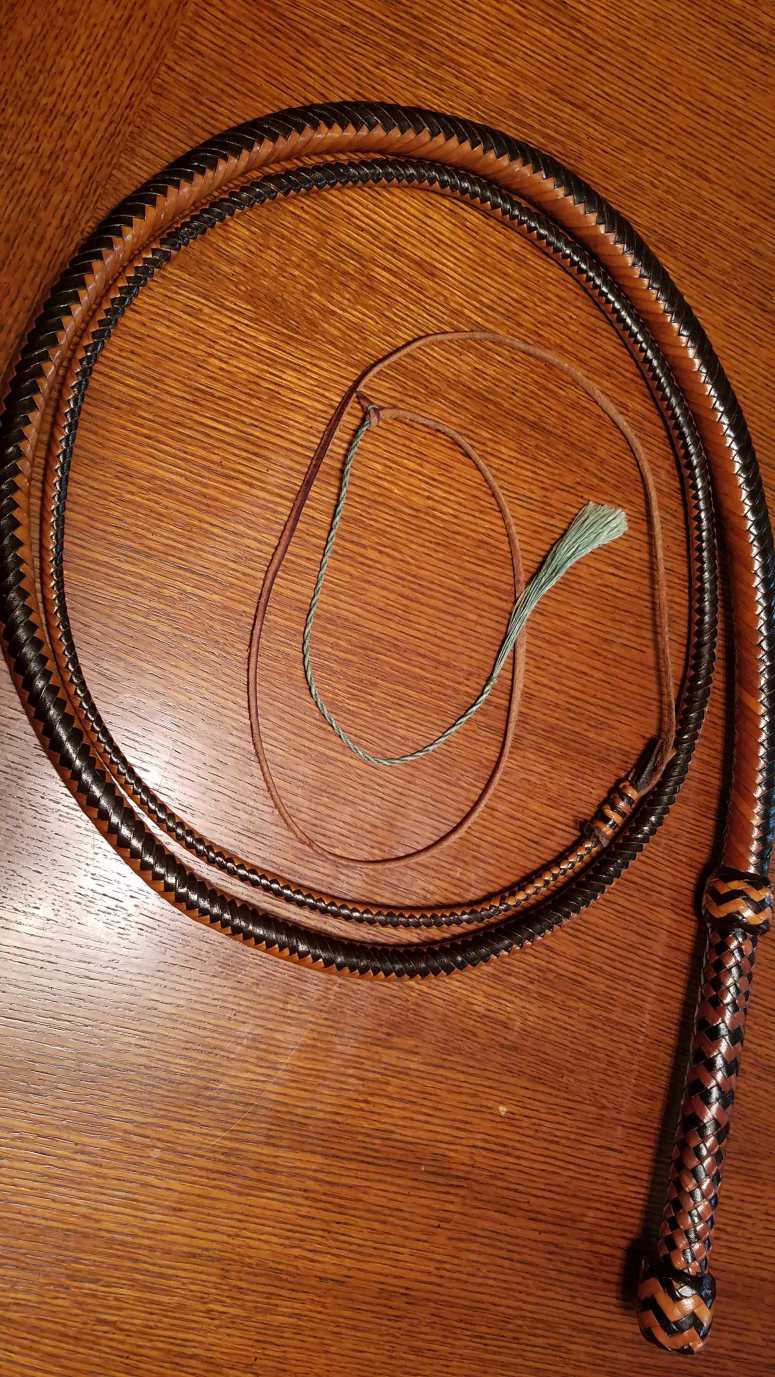
Well, the last two weeks have been quite an adventure. Whip #18 is an 8 ft. kangaroo hide bullwhip in brandy and natural finish hide. I have been wanting to make a kangaroo hide whip for a while and have been studying a set of videos by a pretty famous Australian whip maker named Bernie Wojcecki. If you’re interested, his videos can be found on YouTube here. This is a 4 belly whip with no bolsters. The handle is an 8 inch steel rod and each belly is bound with artificial sinew. Belly 1 is a 4 plait, 2 is a 6 plait, 3 is an 8 plait, 4 is a 12 plait and the overlay is a 16 plait. It has a 6 bight, 7 part Turk’s head knot with a pineapple interweave for the heel and transition knots. The overlay ends in an 8 plait diamond pattern with a traditional fall hitch. the latigo fall is 30 inches long and the Dyneema cracker is 10 inches.
I bought a couple of kangaroo hides from Roy Partin at Whip Nation about a month or so ago that were dyed in a dark brown called brandy and finally got up the courage to ctart cutting on them a couple of weeks ago.
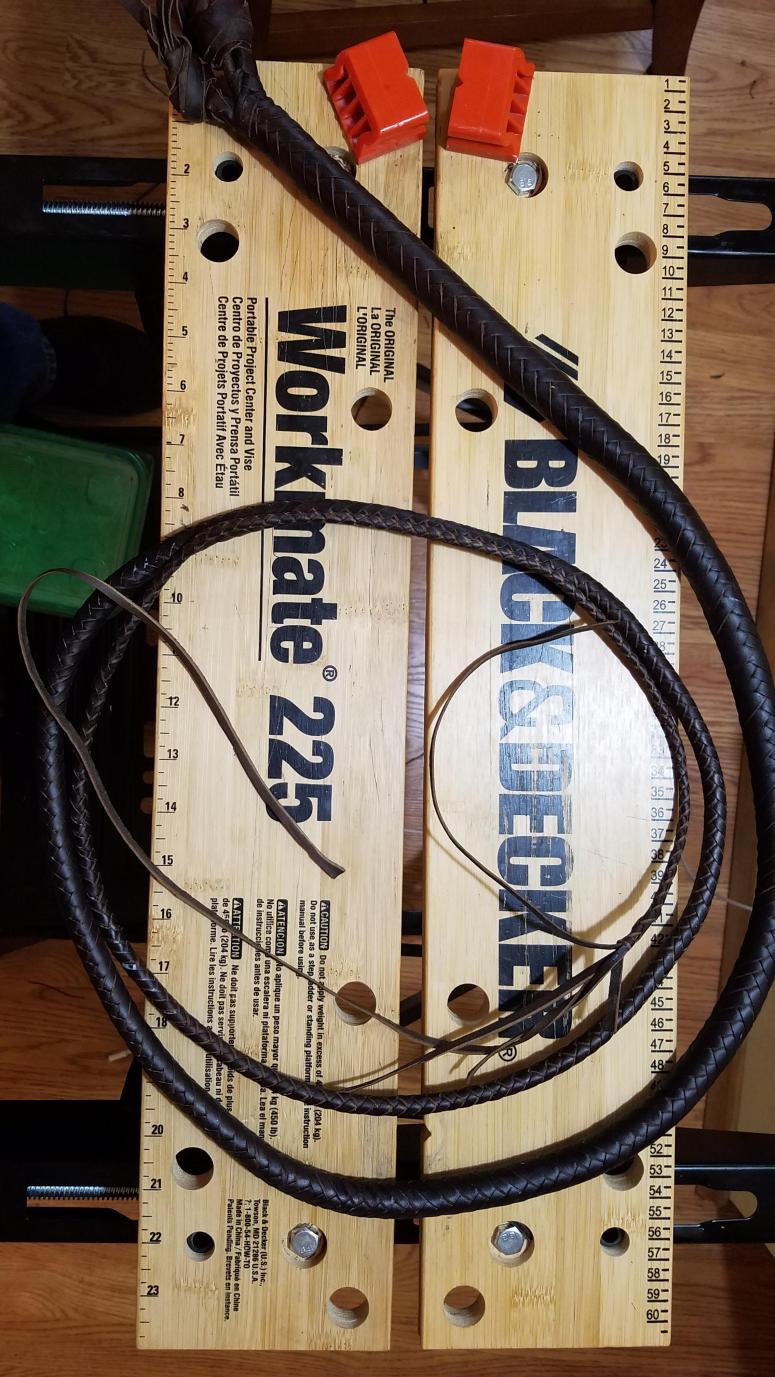
Handle and core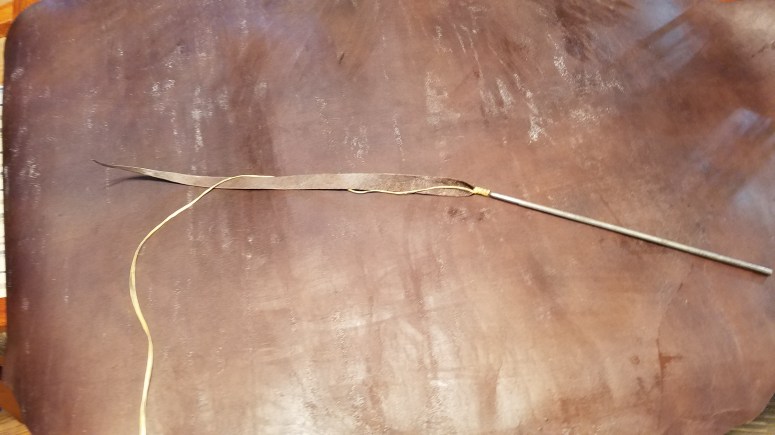
Then I bound the handle and the core with artificial sinew for the entire length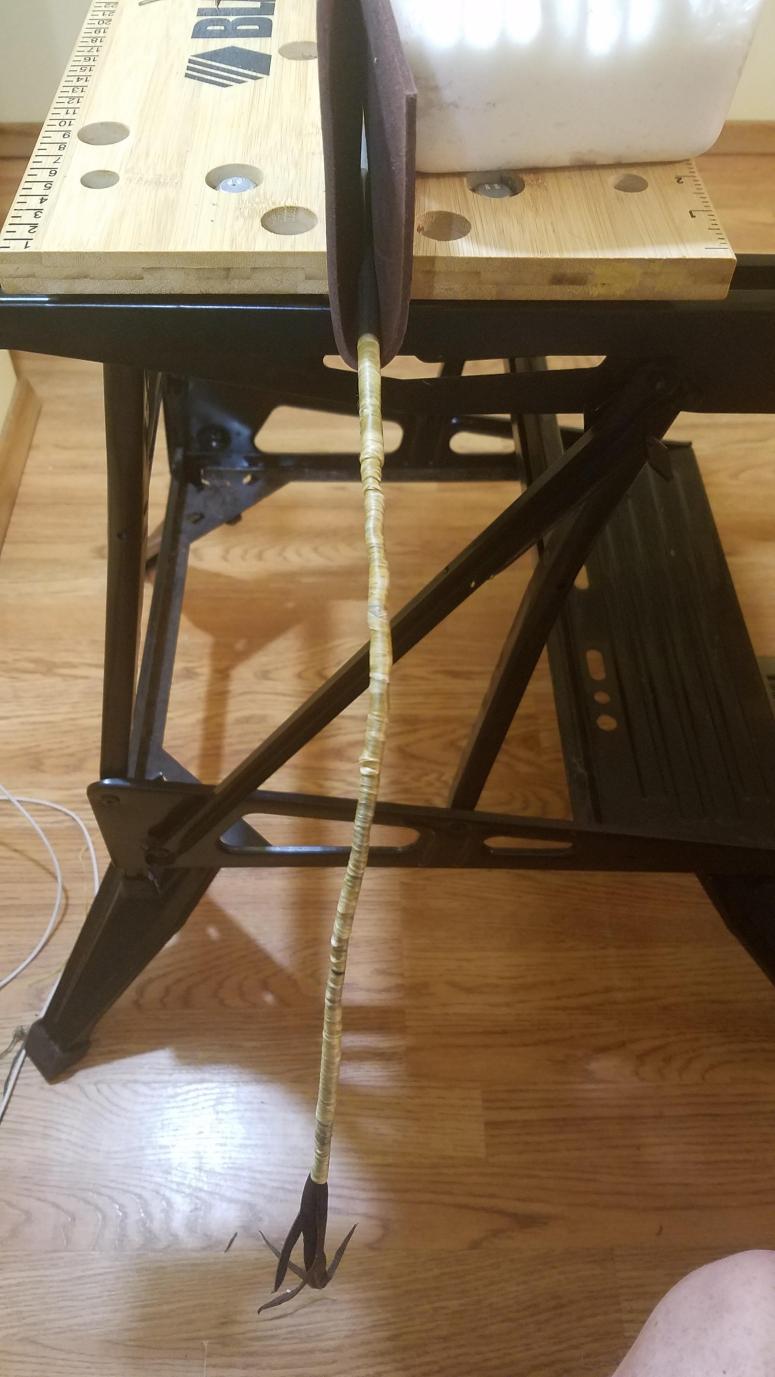
Then the part I was dreading-cutting the lace. Actually, cutting the lace wasn’t so bad. Tapering and beveling the lace was a bitch, though. Unlike paracord, leather lace is tapered from one end to the other in order to get the entire whop to tapir to a point. The lace is then beveled all along each side so that it fits together with the other laces when it is plaited into the whip. That is the part that gave me the most trouble.
Here is the lace cut from the hide. I used an Aussie strander to do this. The resizer is pictured.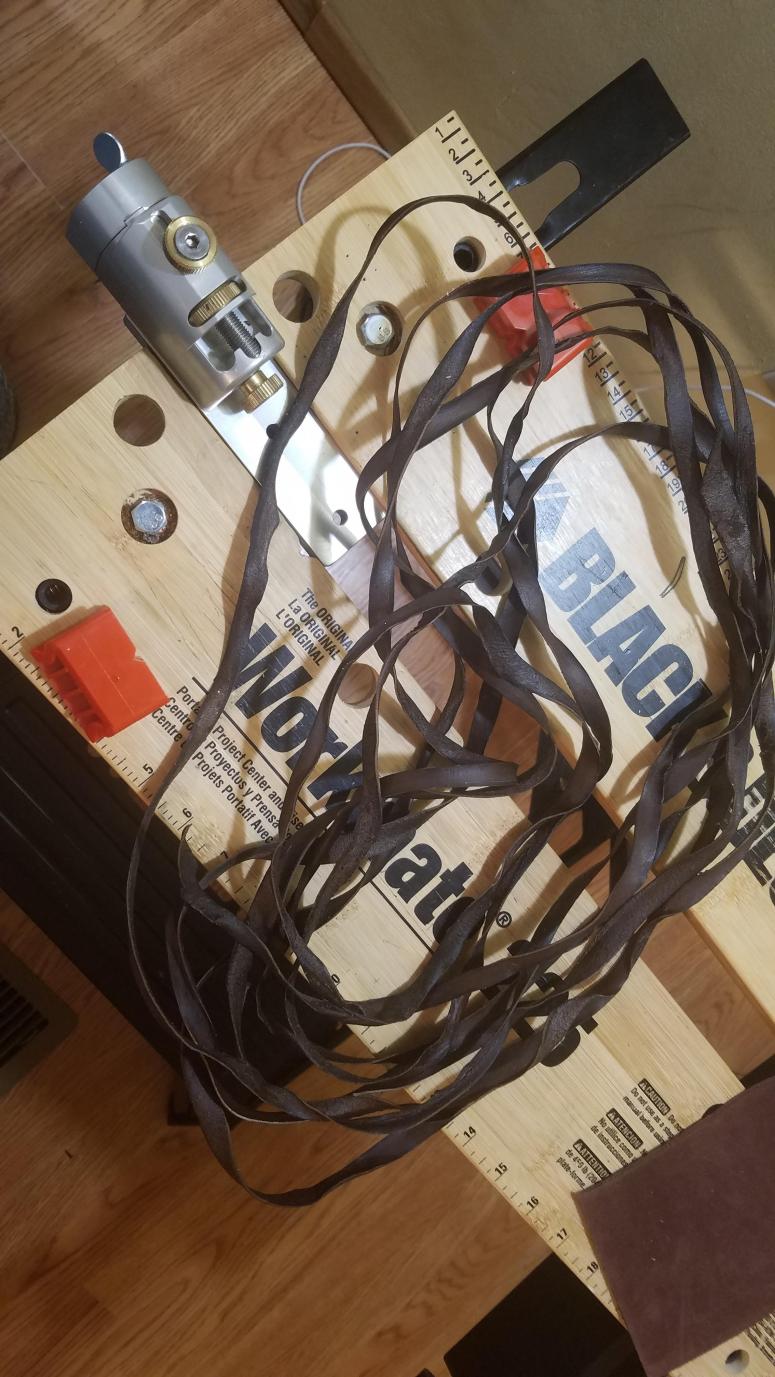
This is how the lace is resized and tapered.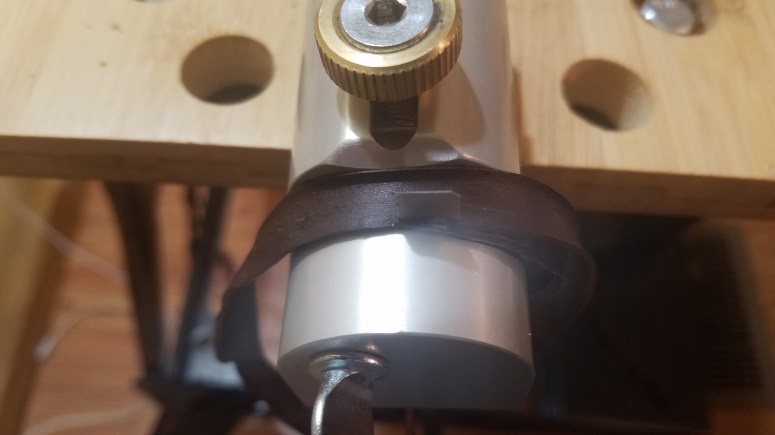
this set of lace was beveled by hand and didn’t turn out too well, but since it was in a belly I wasn’t too concerned.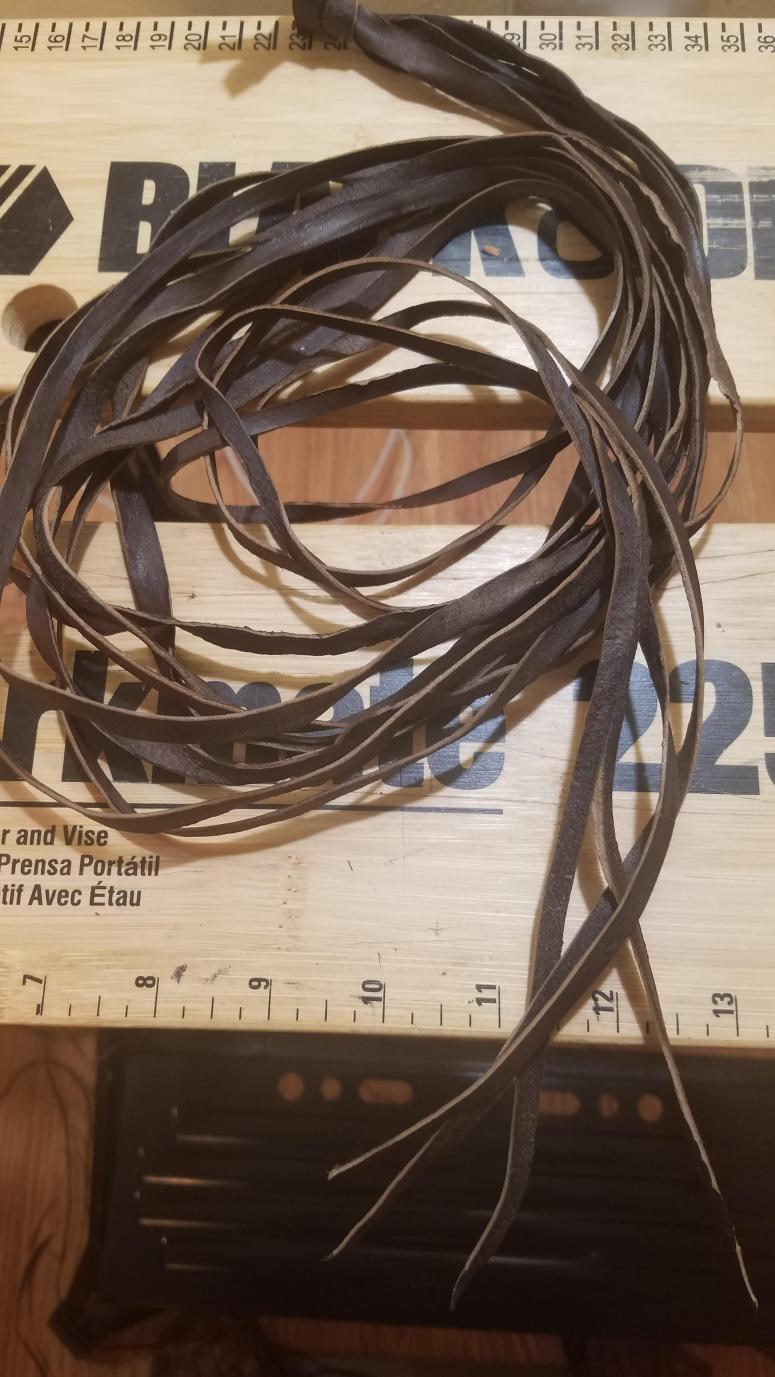
First belly on and bound and rolled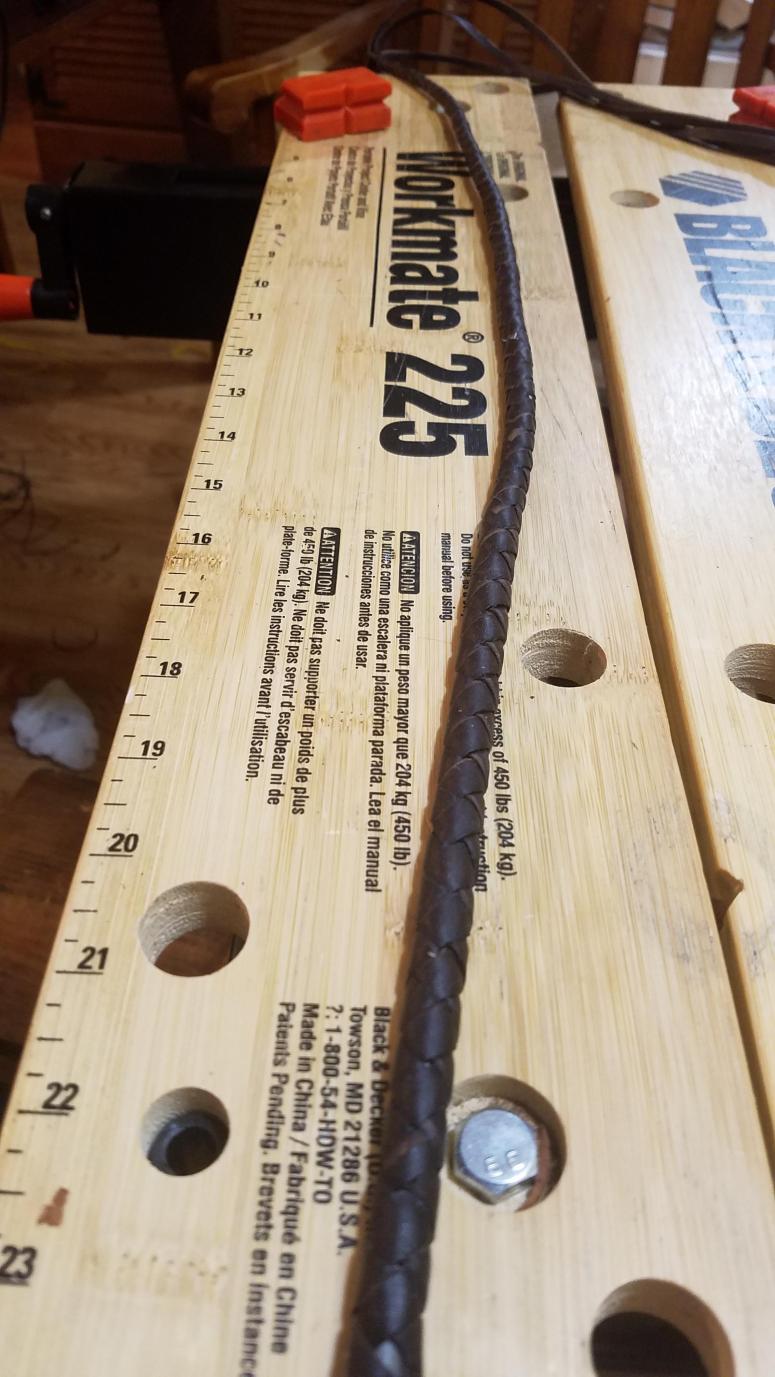
Second belly lace plaited and bound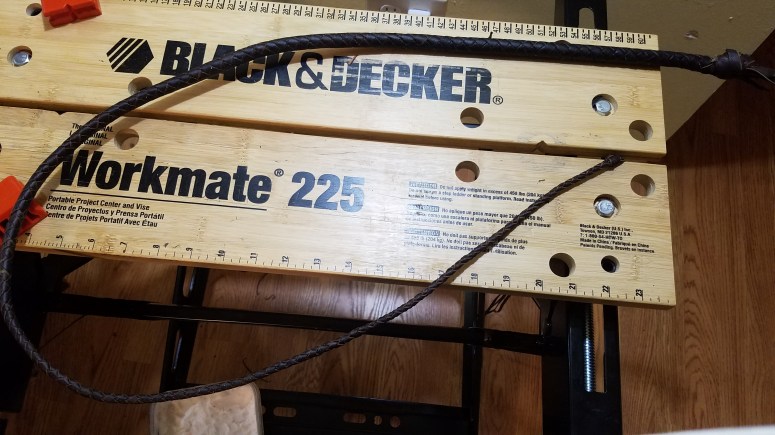

3rd belly lace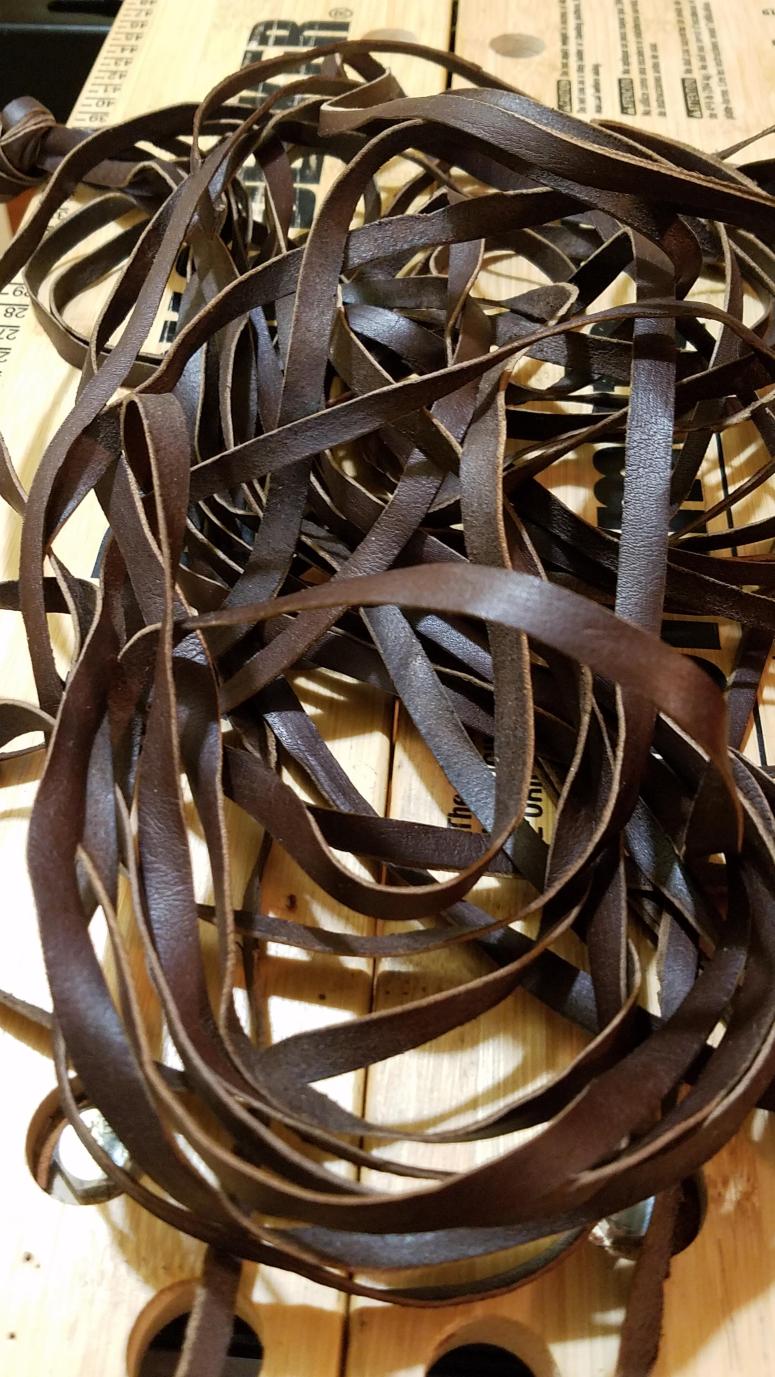
Third belly plaited and bound
The beveling was not going any better so after consulting with a couple of whip makers that I had met on line, Jeff Roseborough and Rachel McCollough, I made a little jig to help with the angle and it worked great. Bevels were no longer a problem.

4th belly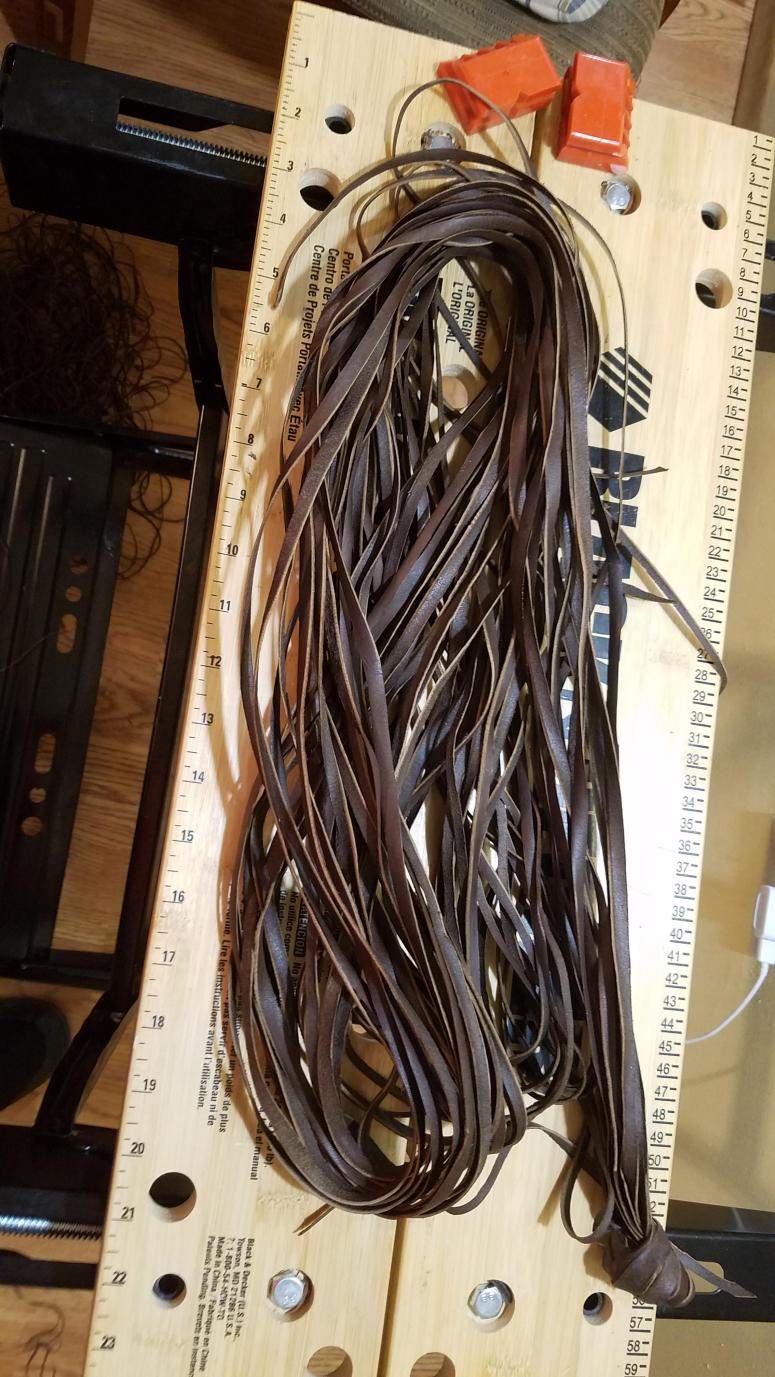
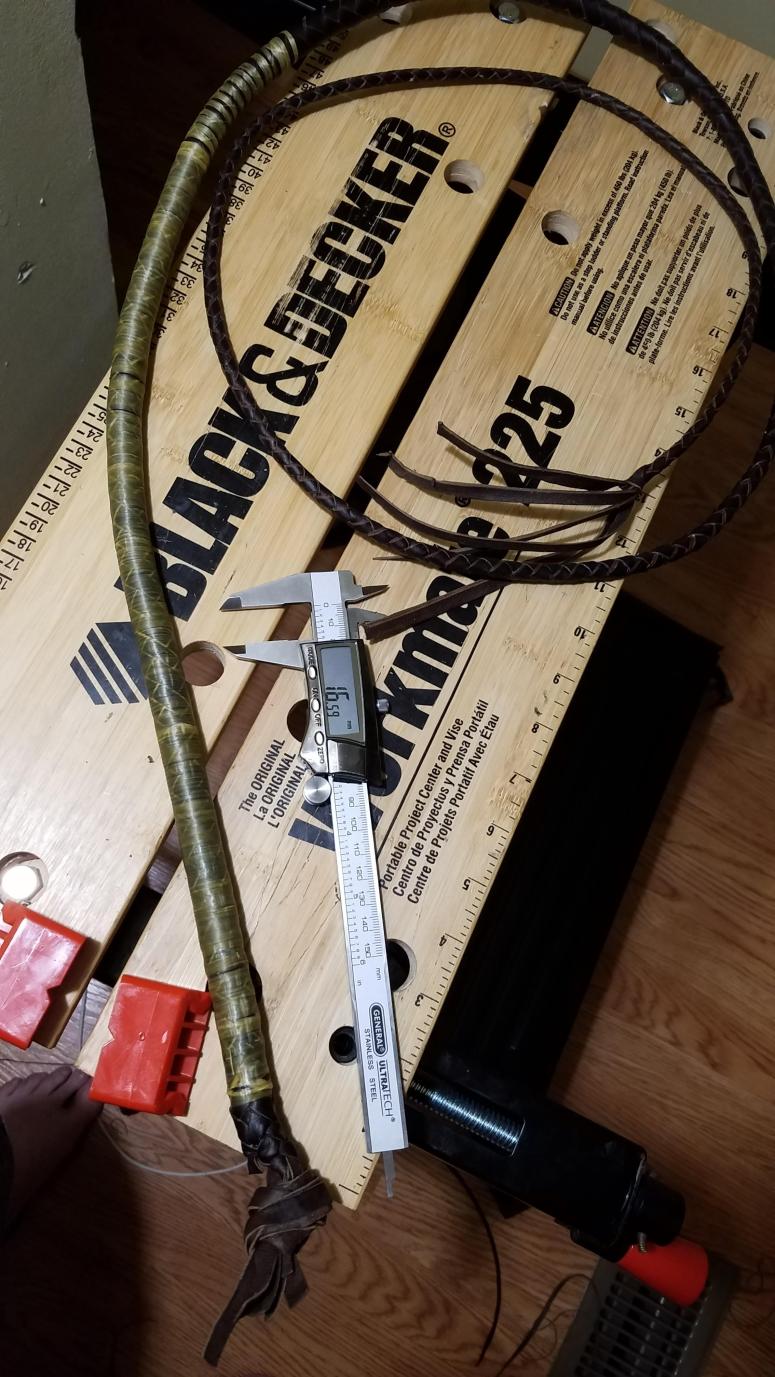
Some of the waste from cutting the bellies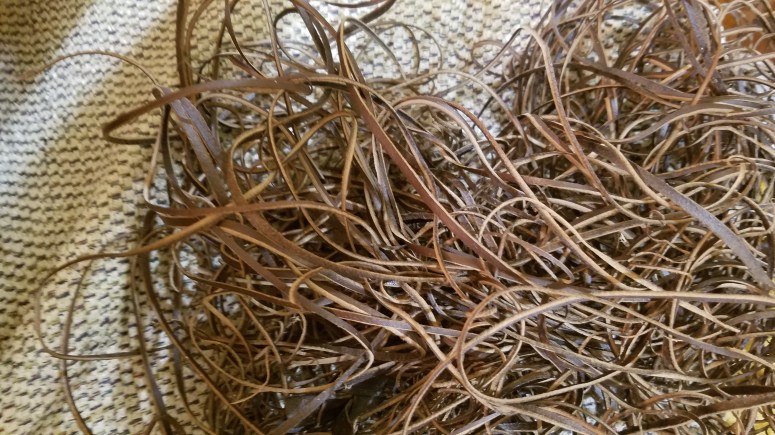
After binding the 4th belly, I was ready to start the overlay, but was concerned that I might not have enough hide to cut 16 more strand out of.
And sure enough I was about 40 feet short, So I ordered a couple of more hides from Roy. I was intending on making another roo hide whip anyway and bought a natural hide and a black dyed hide. I used the strands that I had already cut from the brandy hide and cut strands from the natural hide for the overlay.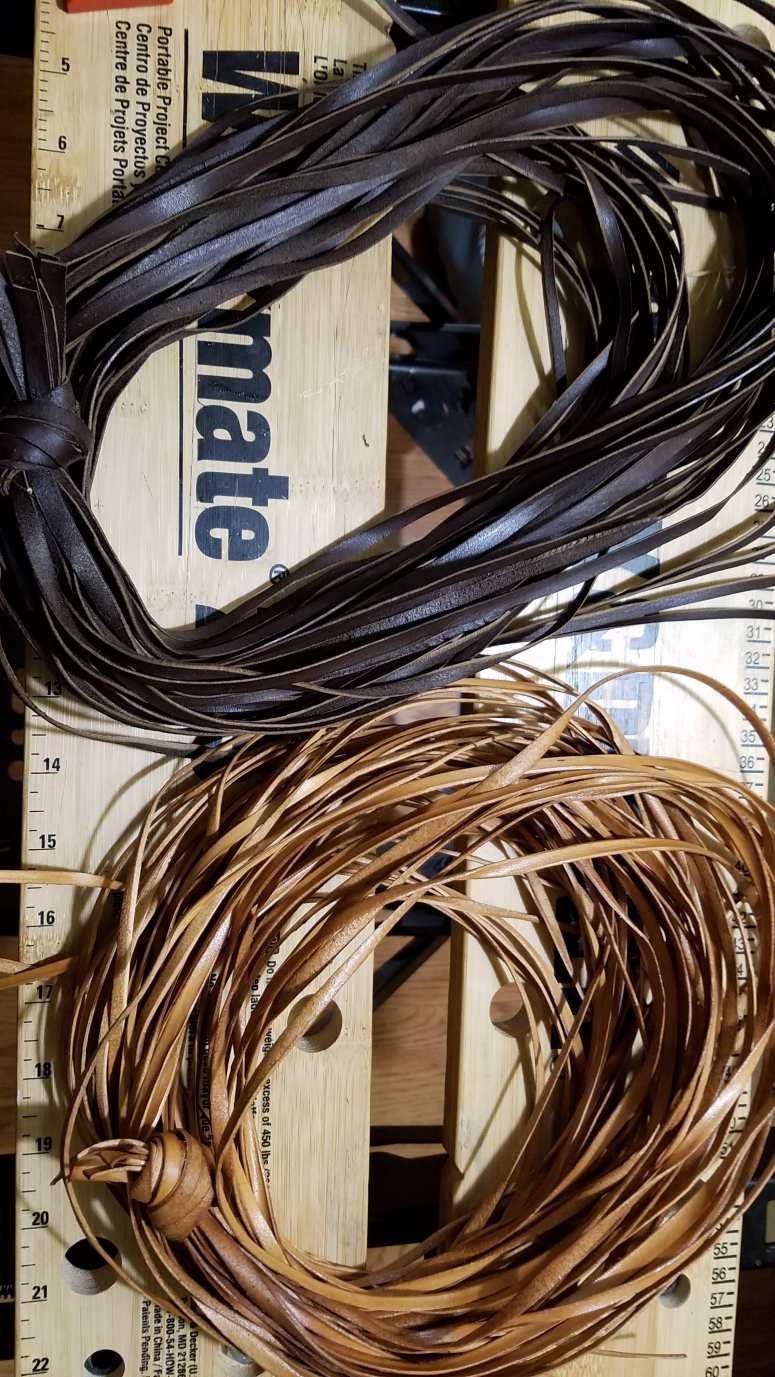
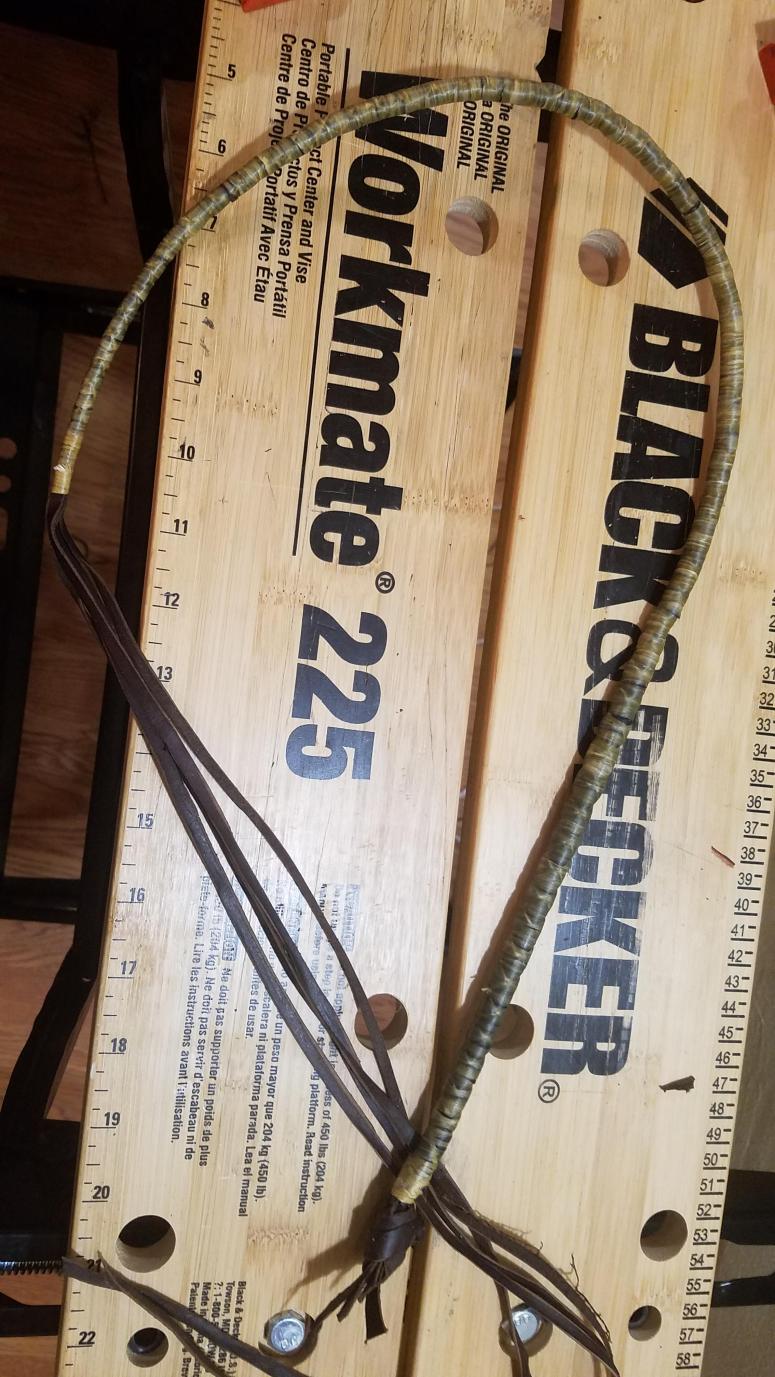
Starting the overlay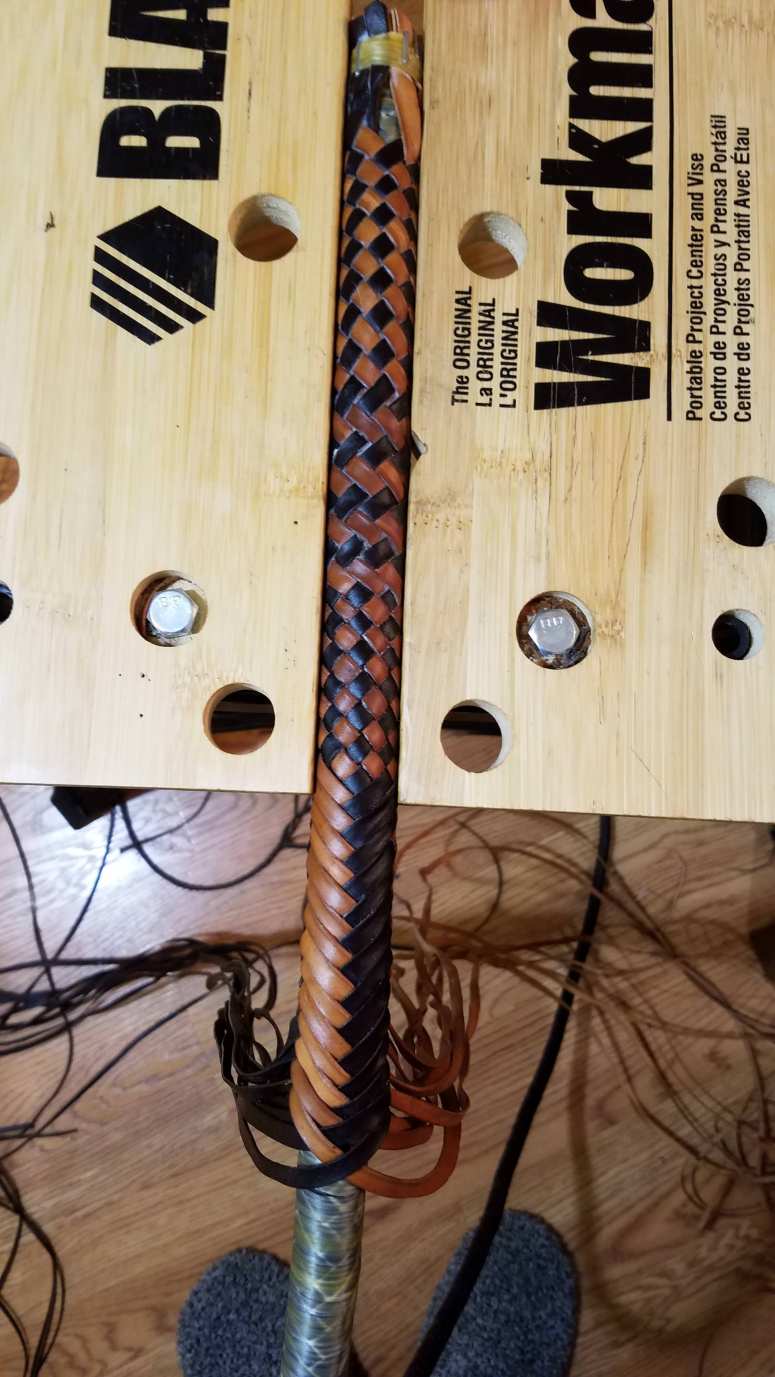
Overlay complete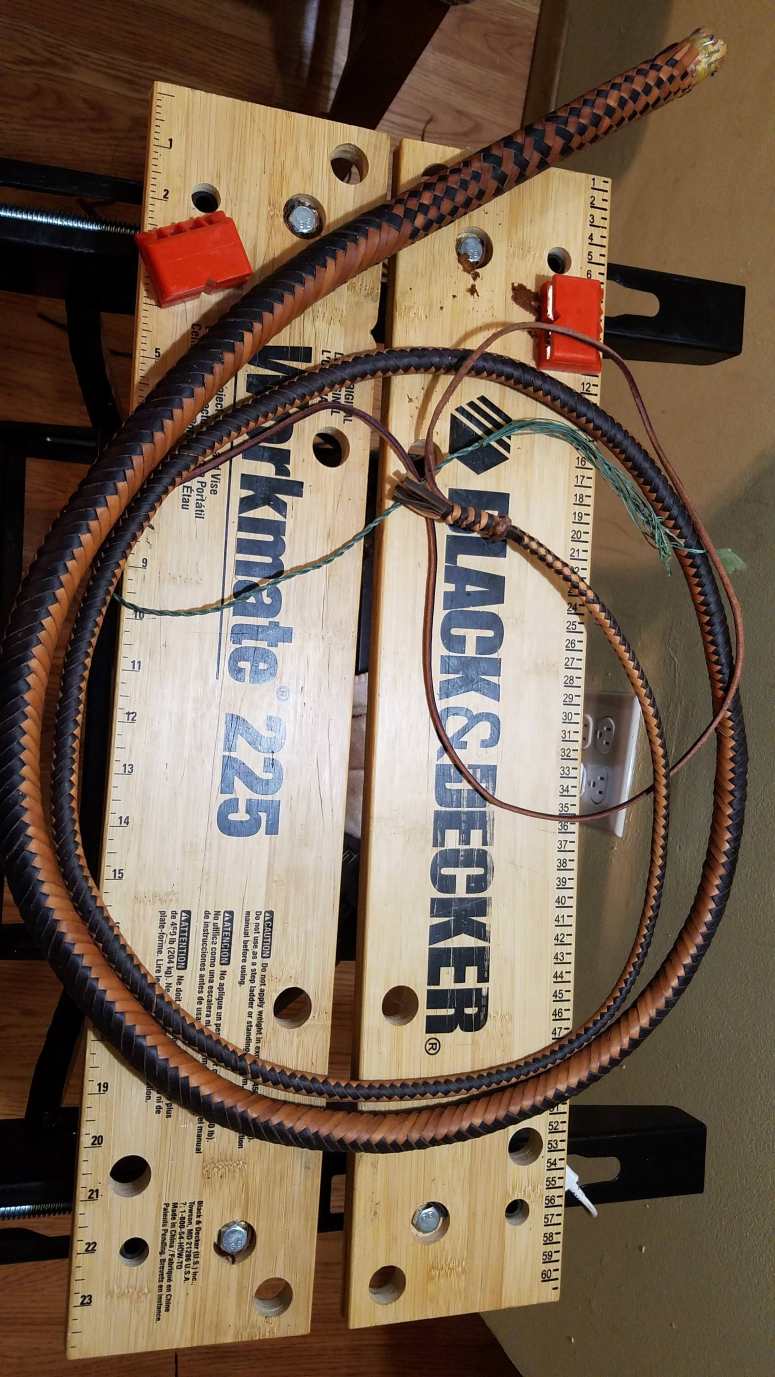
Heel Knot and the fall knot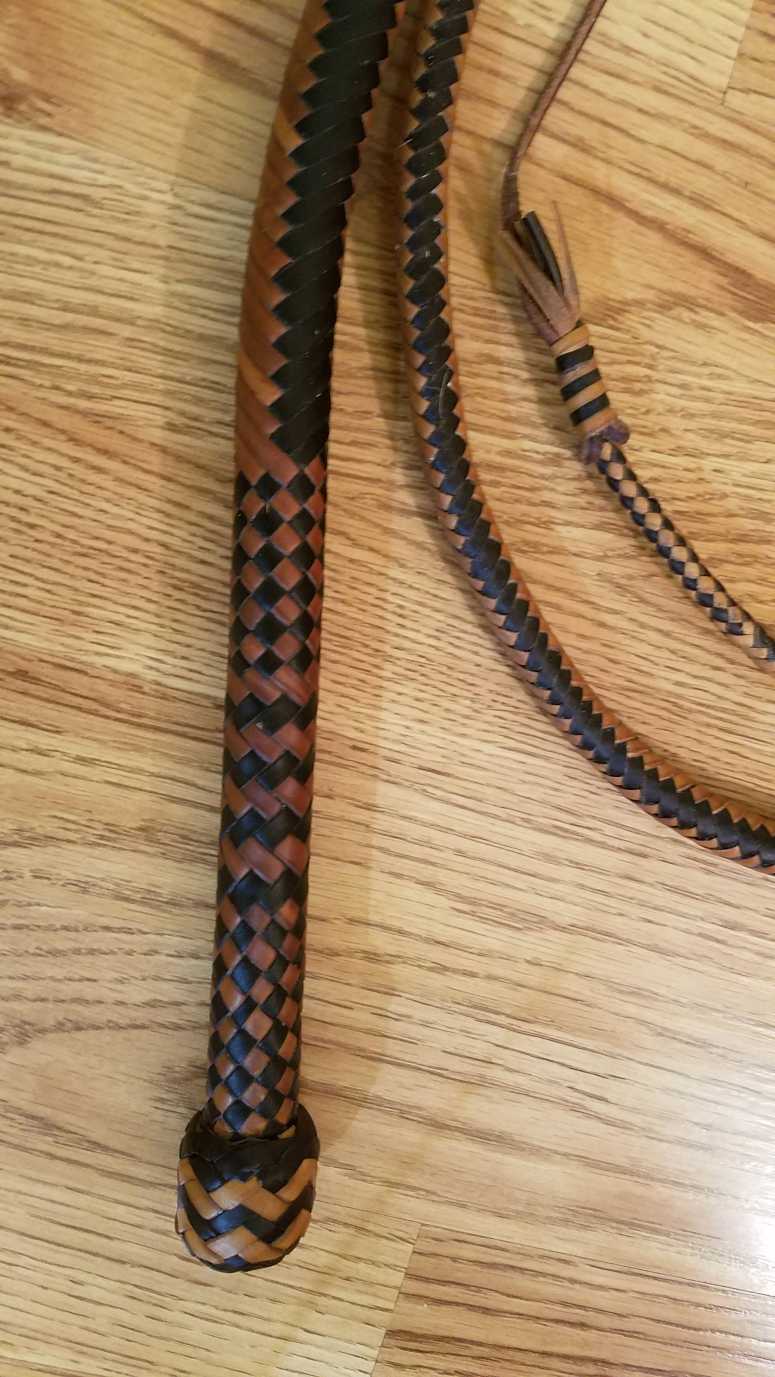
Transition knot and several coats of varnish later-the finished whip